 Save
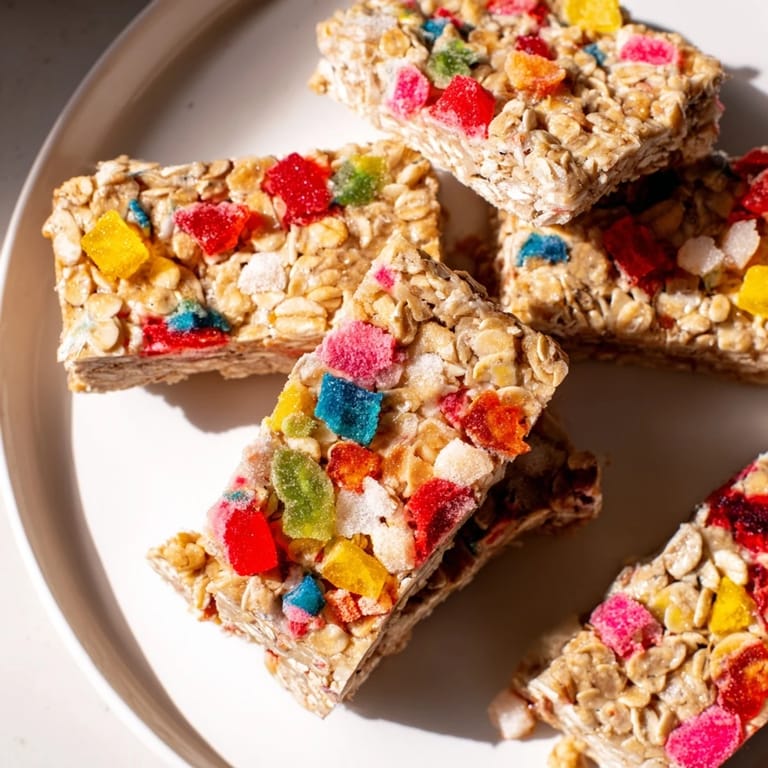
Save A playful, colorful treat featuring chewy homemade gummies, crispy freeze-dried candies, and a wholesome oat base—perfect for snack lovers and candy fans alike.
The first time I made these snack bars, my kitchen felt like a candy laboratory—everyone had fun picking their favorite freeze-dried treats and fruits. Every batch looks different and disappears fast!
Ingredients
- Rolled oats: 2 cups
- Almond butter (or peanut butter): 1/2 cup
- Honey or maple syrup: 1/3 cup
- Unsalted butter, melted: 1/4 cup
- Vanilla extract: 1/2 tsp
- Salt: Pinch
- 100% fruit juice (apple, berry, or orange): 1 cup
- Unflavored gelatin: 2 tbsp
- Honey or agave syrup (for gummies): 2 to 3 tbsp
- Freeze-dried fruit (strawberries, raspberries): 1 cup, lightly crushed
- Freeze-dried candy (Skittles, marshmallows, or similar): 1 cup, crushed or chopped
Tired of Takeout? 🥡
Get 10 meals you can make faster than delivery arrives. Seriously.
One email. No spam. Unsubscribe anytime.
Instructions
- Prepare pan:
- Line an 8x8-inch baking pan with parchment paper.
- Mix oat base:
- In a large bowl, mix together oats, almond butter, honey, melted butter, vanilla, and salt until well combined. Press the mixture evenly into the prepared pan. Refrigerate while you prepare the gummies.
- Make gummies:
- Pour juice into a small saucepan. Sprinkle gelatin over juice and let sit 5 minutes. Heat gently over low, stirring until gelatin dissolves. Add honey, stir well, and pour into a parchment-lined small baking dish. Chill 45 to 60 minutes until set.
- Cut gummies:
- Once set, cut gummies into small cubes.
- Assemble bars:
- Remove oat base from fridge. Sprinkle evenly with gummy cubes, freeze-dried fruits, and freeze-dried candy. Press toppings gently into the base.
- Chill:
- Chill the entire pan for another 10 to 15 minutes to set.
- Slice and serve:
- Lift out using parchment and cut into bars.
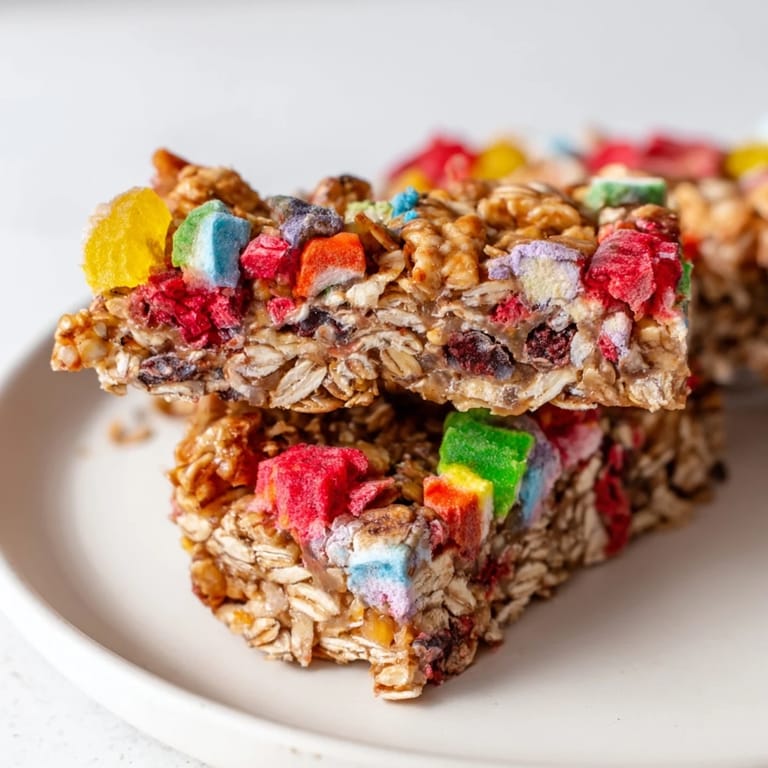 Save
Save We shared a batch of these at our last movie night, and the kids loved picking out the bright gummies—everyone went home with sticky fingers and big smiles!
Flavor Variations
Try using different fruit juices for the homemade gummies to match your favorite flavors, or swap the freeze-dried toppings for chocolate chips or seeds for a new twist.
Allergy-Friendly Tips
For a nut-free version, use sunflower seed butter instead of almond butter. Choose coconut oil in place of butter for dairy-free bars, and always double-check the candies for gluten or other allergens.
Serving & Storage
These bars are best stored in the fridge in an airtight container and enjoyed within five days. They travel well for lunchboxes or picnics and make a fun party treat.
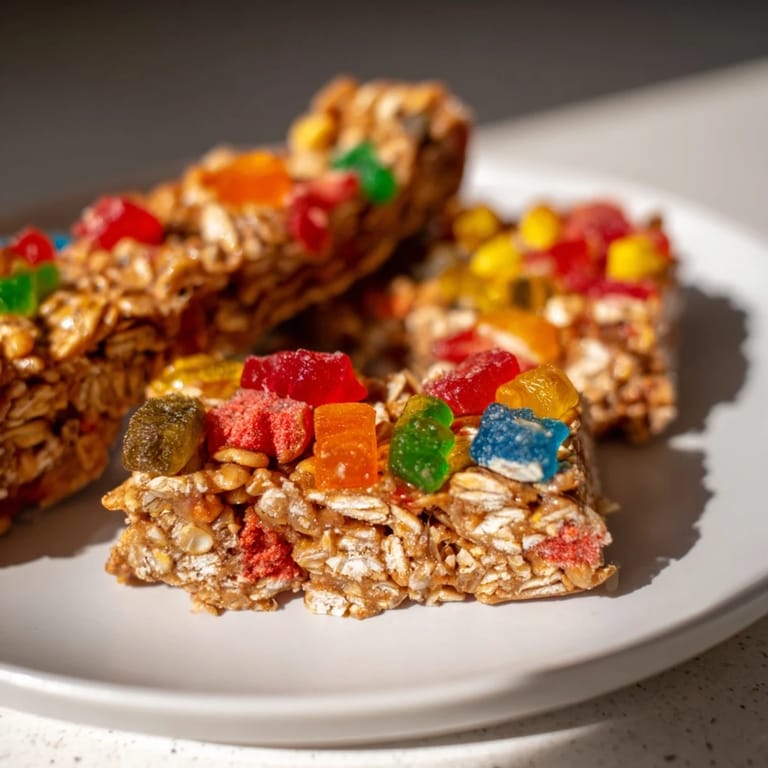 Save
Save Let your creativity shine and make each batch with different colors and flavor combos. They are every bit as fun to eat as they are to make!
Recipe Guide
- → How can I make these bars nut-free?
Use sunflower seed butter instead of almond or peanut butter for a nut-free alternative in the oat base.
- → Can I customize the gummies' flavors?
Absolutely. Try different 100% fruit juices like apple, berry, or orange to create colorful, fruity gummies.
- → What freeze-dried candies work best?
Popular choices include freeze-dried Skittles, marshmallows, or similar candies—choose your favorites for the topping.
- → Are these bars vegetarian-friendly?
Yes, they’re vegetarian if made with standard gelatin, but not vegan. For vegan, substitute agar agar in the gummies.
- → How do I store these snack bars?
Keep bars in an airtight container in the fridge for optimal freshness and texture. Best enjoyed within 3–4 days.
- → What can I serve with these bars?
Pair with cold milk, herbal tea, or fresh fruit to enhance the playful snacking experience.