 Save
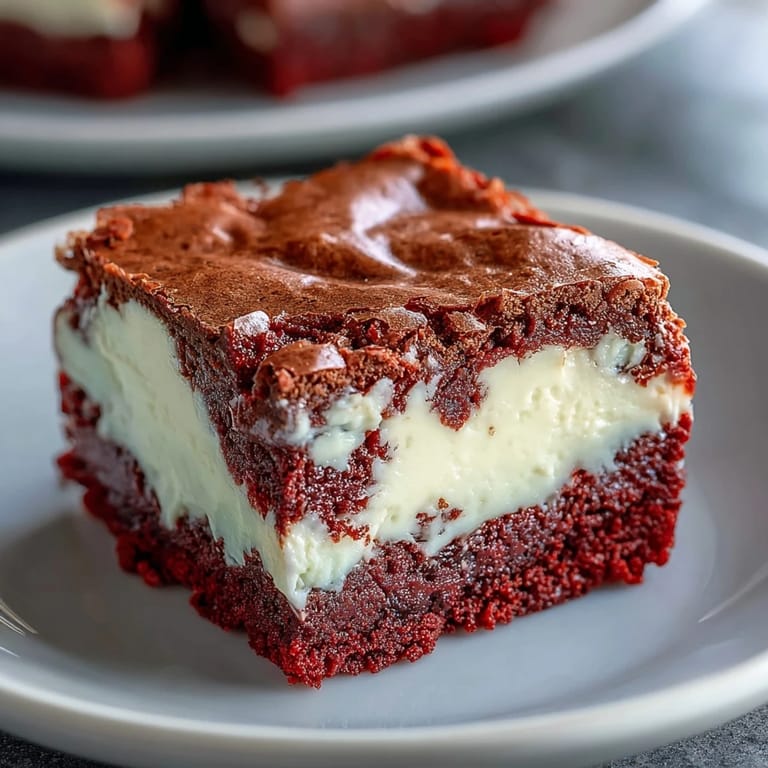
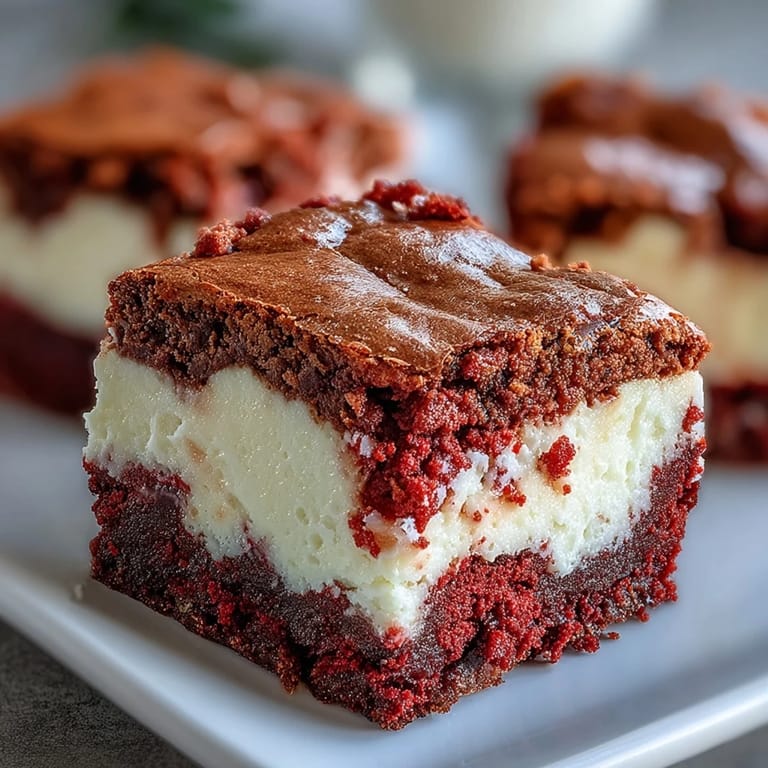
Save My sister called me in a panic two days before Valentine's Day, asking if I could bring something red and impressive to her dinner party. I'd never attempted red velvet brownies before, but something about that combination—the theatrical color, the fudgy richness, the creamy cheesecake contrast—felt like exactly what the moment needed. Standing in my kitchen that afternoon, watching the deep crimson batter swirl into cream cheese, I realized I'd stumbled onto something special that would become my go-to when I wanted to show up for people in a way that mattered.
I brought my first batch to that Valentine's gathering, nervous about the swirls not being perfect, but what I'd overlooked was how the flavors themselves tell a story. Someone asked for the recipe before dessert was even finished, which almost never happens. That night taught me that food made with intention, even if the presentation is slightly uneven, connects with people in ways that polished perfection sometimes misses.
Ingredients
- Unsalted butter (115 g / 1/2 cup), melted: Melted butter whisks into the sugar more smoothly than cold butter, creating that fudgy base that holds everything together—this step saves you frustration later.
- Granulated sugar (200 g / 1 cup): The full cup is worth it here; these brownies need that sweetness to balance the cocoa and make the red velvet layer shine.
- Large eggs (2), at room temperature: Room temperature eggs emulsify better and create a denser, fudgier crumb—pull them out 20 minutes before mixing.
- Vanilla extract (1 tsp): This small amount amplifies the warm undertones without making the brownies taste like vanilla cake instead.
- Red food coloring (1 tbsp, liquid or gel): Gel coloring gives a richer hue without adding extra liquid that can mess with the batter consistency; liquid works but requires slight adjustments.
- Salt (1/4 tsp): The pinch of salt deepens the chocolate flavor and prevents everything from tasting one-dimensional sweet.
- All-purpose flour (60 g / 1/2 cup): Measuring by weight matters here—too much flour makes them cakey instead of fudgy, which defeats the whole purpose.
- Unsweetened cocoa powder (20 g / 2 tbsp): This isn't optional; it's what grounds the red velvet in something rich and complex.
- Cream cheese (225 g / 8 oz), softened: Softened cream cheese beats into the cheesecake layer without lumps; cold cream cheese will frustrate you and leave little bits throughout.
- Granulated sugar (50 g / 1/4 cup) for cheesecake: Less sugar in this layer keeps it from competing with the brownie layer's sweetness.
- Large egg (1): One egg is enough to bind the cheesecake without making it too dense or custard-like.
- Vanilla extract (1/2 tsp): Just half a teaspoon here so the cheesecake stays subtle and creamy.
Tired of Takeout? 🥡
Get 10 meals you can make faster than delivery arrives. Seriously.
One email. No spam. Unsubscribe anytime.
Instructions
- Heat your oven and prep the pan:
- Preheat to 175°C (350°F) while you line an 8x8-inch baking pan with parchment paper, leaving edges that hang over the sides—this makes pulling out the whole batch effortless later. A dry pan means the brownies won't stick and you'll actually get clean edges worth admiring.
- Build the red velvet base:
- Whisk melted butter and sugar together until you see no grainy texture, then add eggs and vanilla, watching them come together into something glossy and smooth. Add your red food coloring and mix just until the color is uniform—this is where the magic starts to show itself.
- Fold in the dry ingredients carefully:
- Sift flour, cocoa powder, and salt right into the wet mixture, then fold with a spatula using gentle strokes—overmixing toughens the brownie and ruins that fudgy texture you're after. Stop folding the moment you don't see streaks of flour anymore.
- Reserve batter for swirling:
- Measure out 1/4 cup of the red velvet batter into a small bowl before spreading the rest in your prepared pan. This reserved portion is your secret to those gorgeous veins running through the final product.
- Make the cheesecake layer smooth:
- Beat softened cream cheese until it's completely lump-free, then add sugar, egg, and vanilla, mixing until the whole thing is creamy and pale. If lumps remain, your cheesecake layer won't set properly and you'll bite into gritty spots that shouldn't exist.
- Layer and swirl with confidence:
- Pour the cheesecake mixture over your brownie base and spread it into an even layer, then dollop your reserved red velvet batter across the top by the spoonful. Take a knife or skewer and drag it through the layers in gentle figure-eight motions, creating swirls without going crazy—less is more here.
- Bake until just set:
- Bake for 35 minutes; the center should look almost underbaked when you pull it out, with a toothpick coming out with a few moist crumbs clinging to it. Overbaking is the enemy—these brownies continue cooking as they cool, and a little jiggle in the center is actually perfect.
- Cool slowly and chill thoroughly:
- Let them cool completely in the pan on a wire rack at room temperature, then refrigerate for at least 2 hours—this lets the cream cheese set properly and makes cutting clean squares possible. Cold brownies cut better and taste more elegant, like you knew what you were doing all along.
 Save
Save That Valentine's Day dinner ended with my sister's guests asking for seconds, and then asking me to make them for a wedding shower two weeks later. It's strange how a dessert becomes more than food—it becomes proof that showing up with something you made yourself, something a little unexpected and layered with care, changes the whole tone of a gathering.
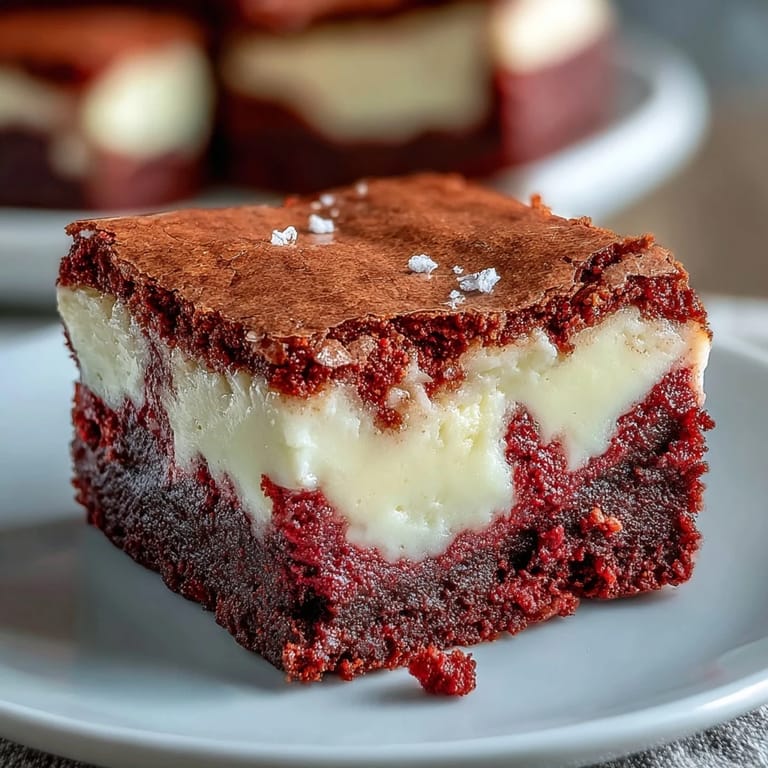
Why These Brownies Feel Special
Red velvet gets a bad reputation sometimes, like it's just regular cake with attitude, but when you pair it with chocolate and cheesecake, something shifts. The cocoa gives the red velvet depth it wouldn't have alone, while the cream cheese adds a tanginess that cuts through the sweetness and makes you want another bite. Together, they're greater than the sum of their parts—kind of like how good things often work.
Timing and Make-Ahead Strategy
You can make these up to two days ahead if you store them covered in the refrigerator, which means you can tackle the hardest part of entertaining—being present instead of stressed—without guilt. I've learned that the best dinner parties aren't won in the kitchen at the last minute; they're won when you've done your prep work and can actually enjoy the people you invited. These brownies are your secret weapon for that kind of peace.
Storage and Serving Wisdom
Keep them in an airtight container in the refrigerator for up to five days, though honestly they rarely last that long once people realize they exist. If you want to get fancy, let them sit at room temperature for five minutes before serving—the cream cheese layer will soften just enough to feel luxurious, and the brownie layer will have that perfect fudgy texture.
- Consider adding white chocolate chips to the brownie batter if you want extra indulgence and a little contrast in texture.
- If your kitchen is warm while you're working, chill your mixing bowls first—this helps the cheesecake layer stay smooth and prevents it from curdling.
- A hot knife dipped in water and wiped clean between cuts gives you the cleanest edges when portioning the brownies.
 Save
Save These brownies taught me that the best recipes are the ones that become part of your story, the ones people ask for by name because they remember how they felt eating them. Make them for someone, watch their face, and you'll understand why these exist.
Recipe Guide
- → Can I use natural food coloring instead of artificial dye?
Yes, you can use natural red food coloring, though the color may be less vibrant. Beet powder is a popular alternative, but it may slightly alter the flavor.
- → How do I know when the brownies are done baking?
The center should be just set and a toothpick inserted should come out with a few moist crumbs, not wet batter. Avoid overbaking to maintain the fudgy texture.
- → Can I freeze these brownies?
Absolutely! Wrap individual squares tightly in plastic wrap, then place in a freezer-safe container. They'll keep for up to 3 months. Thaw in the refrigerator before serving.
- → What's the best way to get clean cuts?
Refrigerate the brownies for at least 2 hours, then use a sharp knife wiped clean between each cut. Cold brownies cut much more cleanly than warm ones.
- → Can I make these in a different pan size?
Yes, but adjust baking time accordingly. A 9x13-inch pan will yield thinner brownies that bake faster (check at 25 minutes), while a smaller pan will require more time.
- → Why do my dairy ingredients need to be at room temperature?
Room temperature cream cheese and eggs blend more smoothly, creating a lump-free cheesecake layer that spreads evenly and bakes uniformly throughout.