 Save
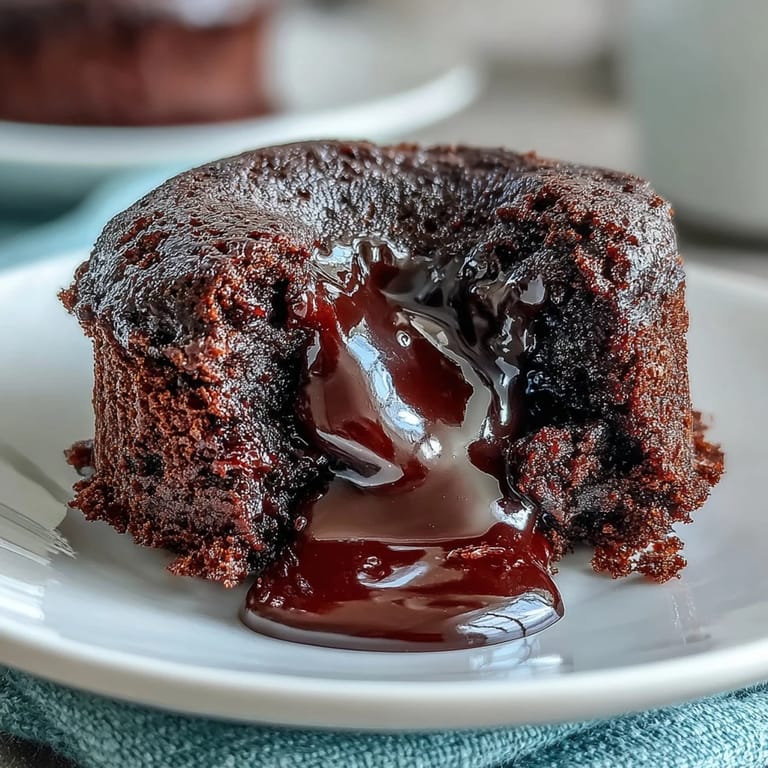
Save There's a particular magic to pulling a chocolate lava cake from the oven at just the right moment, that precise second when the edges have set firm but the center still trembles with molten promise. I discovered this recipe during a dinner party when I'd overestimated my baking skills and somehow ended up with four perfect individual cakes instead of the disaster I expected. The espresso powder wasn't planned—I'd grabbed it from the back of the cabinet thinking it might add depth—and it completely transformed these simple cakes into something that tasted far more sophisticated than the effort required.
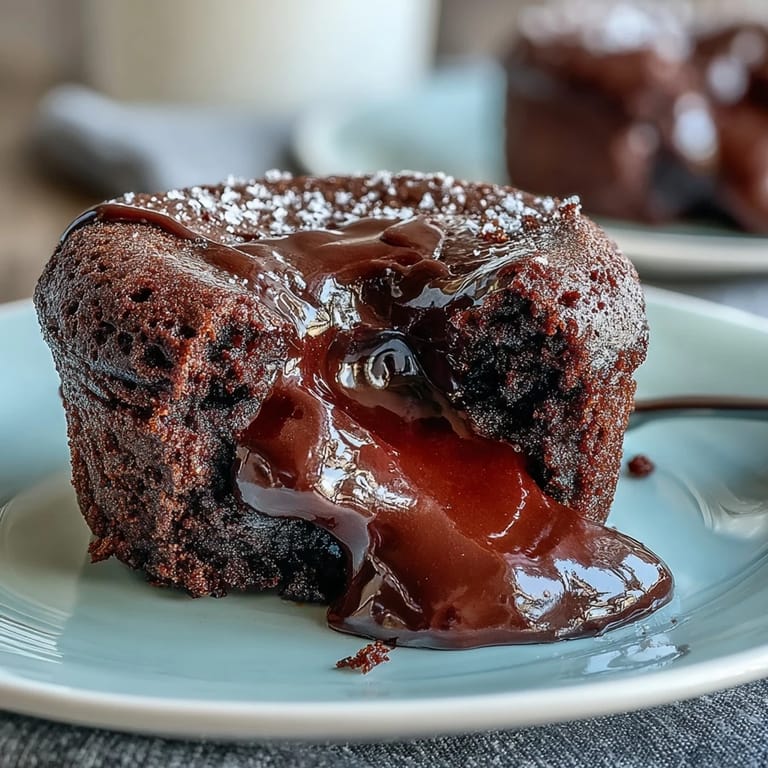
I'll never forget my friend Sarah's face when she cut into hers and that dark, glossy center pooled across the plate—she actually gasped, and suddenly everyone else at the table wanted theirs cut open immediately. That moment convinced me these cakes aren't just dessert; they're a small performance, an edible surprise that makes people feel celebrated.
Ingredients
- Bittersweet or semisweet chocolate, chopped: Use quality chocolate here because it's the star; the cocoa solids create that rich, intense flavor that makes people ask for the recipe.
- Unsalted butter: It should be softened so it melts smoothly with the chocolate, creating a glossy base for everything else.
- Eggs and egg yolks: The whole eggs create structure while the extra yolks add richness and help achieve that crucial molten center.
- Granulated sugar: Whisk it with the eggs until the mixture becomes pale and thick; this step incorporates air that keeps the cakes light despite their decadence.
- All-purpose flour: Just enough to provide structure without making these dense; sifting prevents lumps that could disrupt the delicate crumb.
- Instant espresso powder: Dissolves directly into the warm chocolate and amplifies the depth without adding liquid, making chocolate taste more chocolate-like.
- Pure vanilla extract: A small amount rounds out the flavors and prevents the chocolate from tasting one-dimensional.
- Salt: A pinch balances the sweetness and makes every flavor pop more clearly.
Tired of Takeout? 🥡
Get 10 meals you can make faster than delivery arrives. Seriously.
One email. No spam. Unsubscribe anytime.
Instructions
- Prepare your ramekins:
- Butter each ramekin thoroughly, getting into the corners and up the sides, then dust with cocoa powder so the finished cakes slide out cleanly. Tap out excess powder so you have just a thin, even coating.
- Melt chocolate and butter:
- Set a heatproof bowl over simmering water (not boiling, or the chocolate will seize) and stir the chocolate and butter together until completely smooth and glossy. This gentle heat keeps everything silky.
- Whisk eggs with sugar:
- In a separate bowl, whisk whole eggs, egg yolks, and sugar together, and watch as the mixture transforms from pale yellow to almost white and ribbony—this takes about 2-3 minutes and means you've incorporated enough air. Stop when you see the whisk leave visible trails in the mixture.
- Combine chocolate and espresso:
- Stir the espresso powder and vanilla into your cooled chocolate mixture, letting the warmth dissolve the espresso completely so there are no grainy specks. Taste it mentally—you should sense chocolate amplified, not coffee flavor.
- Fold in the egg mixture:
- Add the chocolate to the eggs in thirds, folding gently with a spatula each time so you don't deflate all that air you worked to create. This is about patience, not speed.
- Sift and fold flour:
- Sift the flour and salt directly over the batter, then fold gently just until combined—you're aiming for no visible flour streaks but absolutely no overmixing, which would make the cakes tough. The batter should look smooth and glossy.
- Fill ramekins:
- Divide batter evenly among prepared ramekins, filling each about three-quarters full so there's room for the cake to rise without spilling.
- Bake precisely:
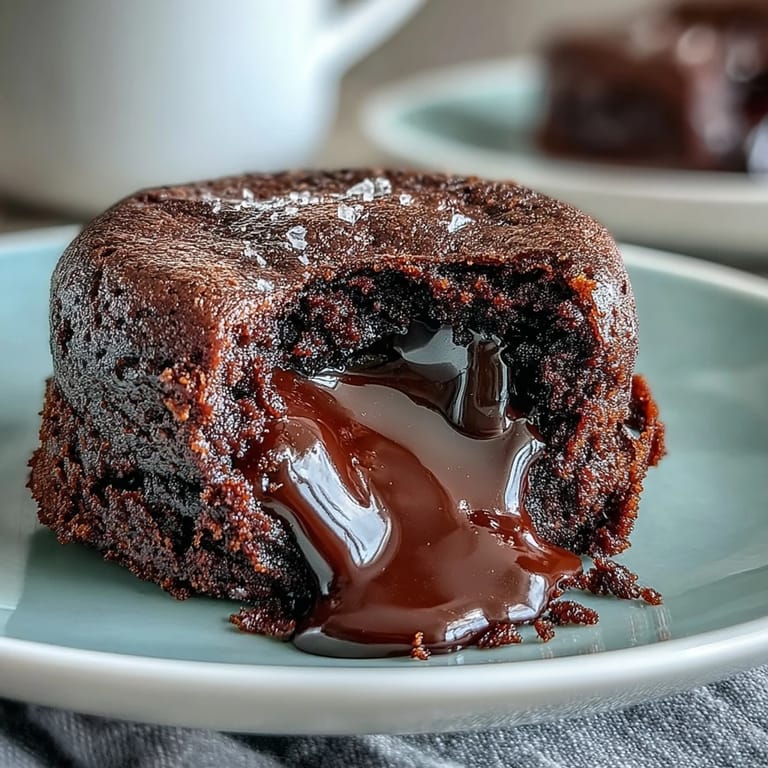
- Place ramekins on a baking sheet and bake at 220°C (425°F) for 11-13 minutes; the edges should look set and slightly domed while the center still jiggles slightly when you gently shake the ramekin. Start checking at 11 minutes—every oven is different.
- Release and serve:
- Let cakes rest for just one minute in the ramekins, then run a thin knife around each edge to loosen. Invert quickly onto a warm dessert plate so the molten center falls to the top, and serve immediately.
 Save
Save There's something almost meditative about serving these cakes—that moment when your dinner guests watch the chocolate center cascade across their plate feels like a small shared secret, the kind of moment that makes ordinary Tuesday nights feel special. It's comfort and elegance wrapped into four minutes of preparation and twelve of baking.
The Science of the Molten Center
The molten magic happens because the batter is so enriched with fat and egg yolks that the outside sets before the inside can fully cook through; those extra yolks create an emulsion that keeps everything tender even as the edges firm up. Understanding this means you stop second-guessing yourself and trust the timing, because you know exactly why it works.
Making These Ahead
The best part about this recipe is how forgiving it is with your timeline; you can mix the batter up to eight hours in advance and keep it covered in the refrigerator, which means you can focus on other dishes or actually enjoy your guests instead of scrambling in the kitchen at the last second. Just remember to let it come to room temperature for about 20 minutes before baking, or add an extra minute to the bake time if you're going straight from cold.
Serving Suggestions and Flavor Pairings
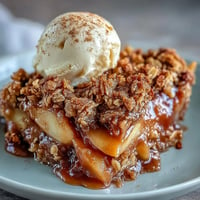
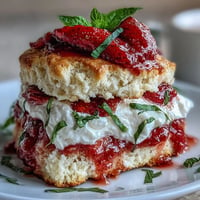
While these cakes are absolutely magnificent on their own, a scoop of cold vanilla ice cream melting into the molten center creates a temperature and texture contrast that feels almost luxurious, and if you're feeling fancier, a small dollop of unsweetened whipped cream adds a cloud-like richness. Fresh raspberries scattered around the plate add brightness and a visual pop, and a tiny cup of espresso or hot chocolate alongside turns this into a complete dessert experience.
- Vanilla ice cream melts into the warm chocolate and creates an elegant flavor balance that feels indulgent without being heavy.
- A dusting of powdered sugar on the plate looks professional and adds a subtle sweetness to each bite.
- If you're making these for someone who doesn't drink coffee, the espresso powder won't taste like coffee at all; it just deepens the chocolate.
 Save
Save These cakes remind me why I love cooking—they're simple enough to feel achievable but impressive enough to make someone's night. Once you've nailed them, you'll find yourself making them again and again, each time gaining confidence that you can create something restaurant-quality in your own kitchen.
Recipe Guide
- → How do I know when the lava cakes are done?
The edges should be firm and set, pulling slightly away from the ramekin sides, while the centers remain soft and jiggly when gently shaken. This typically takes 11-13 minutes at 425°F.
- → Can I make the batter ahead of time?
Yes, you can prepare the batter up to 4 hours in advance and refrigerate it in the ramekins. Bring them to room temperature for about 20 minutes before baking, or add 1-2 minutes to the baking time if baking from cold.
- → What type of chocolate works best?
Bittersweet or semisweet chocolate with 60-70% cocoa content provides the best balance of richness and sweetness. Avoid milk chocolate as it's too sweet and won't create the proper texture.
- → Why do my centers come out fully cooked instead of molten?
Overbaking is the most common issue. Watch them carefully and remove when edges are set but centers still jiggle. Every oven varies, so you may need to adjust timing by a minute or two.
- → Can I skip the espresso powder?
Yes, though the espresso enhances the chocolate flavor without making it taste like coffee. If you prefer, simply omit it or substitute with an equal amount of cocoa powder.
- → What's the best way to unmold the cakes?
Let them rest for 1 minute after baking, run a thin knife around the edges to loosen, place a dessert plate on top, and quickly flip over. The cake should release easily if the ramekin was properly greased.