 Save
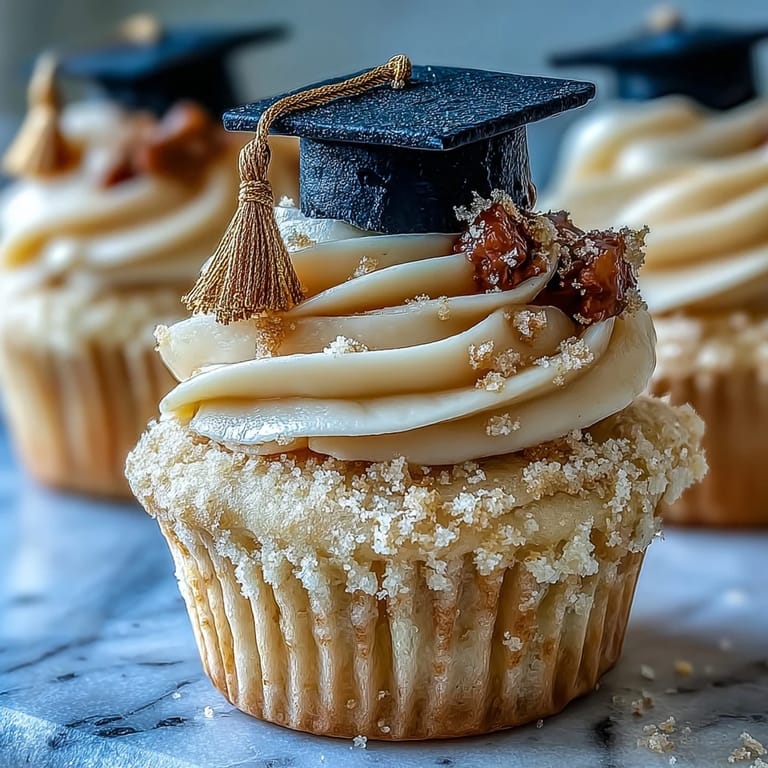
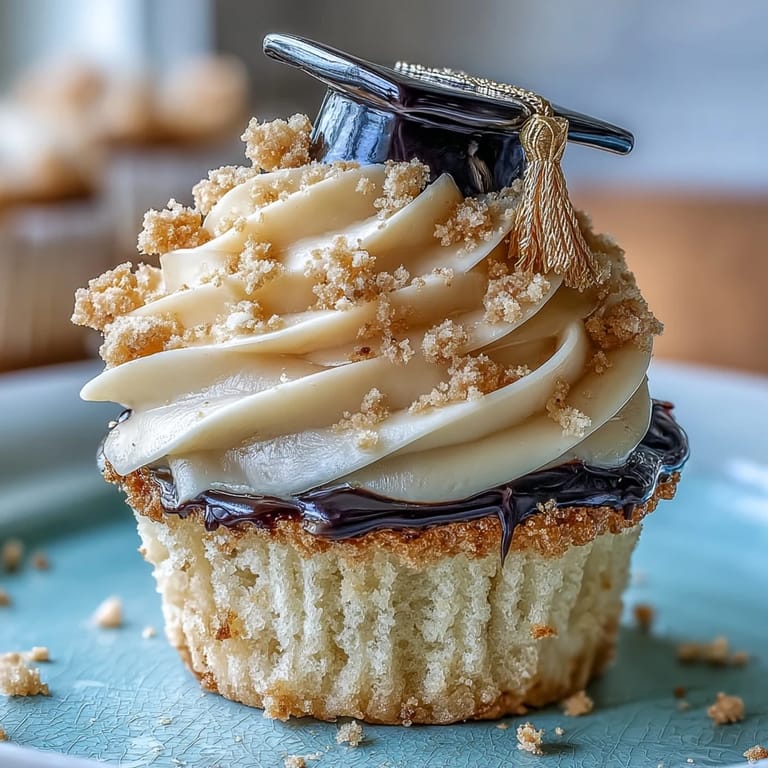
Save Vanilla and butter always seem to brighten my mood, but there was something especially cheerful about baking these graduation cupcakes one rainy afternoon while listening to distant giggles drift from the living room. The whirring of the mixer and a dusting of powdered sugar in the air made the whole kitchen glow. Sometimes, you don’t need a big party to celebrate—a batch of cupcakes topped with sparkling fondant caps can make any accomplishment feel official. The gold dust sparkled on my hands like confetti as I shaped each tiny tassel. Cupcakes that bring a little ceremony to everyday moments are always my favorite to share.
Last spring, my cousin came by unexpectedly with her cap and gown in hand, and together we crafted these cupcakes for her tiny backyard celebration. While we rolled fondant and debated which gold looked brightest, we both agreed this goofy baking session turned out to be the highlight of graduation day. Finishing the last tassel, she declared, “These are almost too adorable to eat”—before promptly grabbing two. I snapped photos of her holding a cupcake as proudly as her diploma. These cupcakes turned another ordinary afternoon into a core memory for both of us.
Ingredients
- All-purpose flour: Sift it if you want lighter cupcakes—clumps in flour can lead to pockets in the crumb, which I learned the messy way.
- Baking powder: Ensures the cupcakes rise beautifully each time, but check that it’s fresh for the best lift.
- Salt: I sprinkle a tiny bit more if the butter is unsalted, as it really wakes up the sweetness.
- Unsalted butter (for cake and frosting): Softening it makes everything smoother to mix—it should yield slightly to a gentle press but not be greasy.
- Granulated sugar: Cream with butter until pale and fluffy; this is the secret to a light crumb.
- Eggs: Let them come to room temperature to help the batter come together easily.
- Vanilla extract: Real vanilla always makes the cupcakes extra aromatic, and a little goes a long way.
- Whole milk: Adds a nice rich flavor and keeps the cake moist—don’t substitute with skim for best results.
- Powdered sugar (for frosting): Always sift to avoid those little crunchy lumps.
- Cornstarch (for fondant): Essential for dusting your surface so fondant doesn’t stick or tear.
- Black fondant: The contrast makes each cap unmistakable—dip your tools in a touch of cornstarch to avoid sticky situations.
- Gold fondant: Nothing says celebration like a splash of gold—rolling thin ropes for tassels is surprisingly calming.
- Edible gold dust: Not a must, but it adds that extra sparkle everyone secretly hopes for.
- Edible adhesive or water: Just a dab—too much and things slip; just enough, and decorations stay put.
Tired of Takeout? 🥡
Get 10 meals you can make faster than delivery arrives. Seriously.
One email. No spam. Unsubscribe anytime.
Instructions
- Prep and preheat:
- Set your oven to 350 F (180 C) and line a muffin tin with your favorite cupcake liners—the crinkle of the paper always sets the scene for something delicious.
- Mix dry ingredients:
- In a medium bowl, whisk together flour, baking powder, and salt until well combined; it helps prevent those unwelcome pockets of dry mix.
- Cream butter and sugar:
- Using an electric mixer, beat softened butter and sugar until the mixture is light and almost fluffy—it should smell faintly of caramel.
- Add eggs and vanilla:
- Beat in eggs one at a time, followed by a generous splash of vanilla, scraping the bowl to catch every bit.
- Combine and mix:
- Add dry ingredients to the wet mixture in three additions, alternating with the milk, and mix gently just until combined—the batter will look creamy and smooth.
- Fill and bake:
- Spoon batter evenly among the liners, watching each cup fill with the promise of soft crumb, then bake for 18-20 minutes until golden. A toothpick inserted in the center should come out clean.
- Cool completely:
- Let cupcakes cool in the pan for a few minutes, then transfer to a rack so the frosting doesn’t melt later.
- Whip up the buttercream:
- In a clean bowl, beat softened butter, sifted powdered sugar, a splash of milk, vanilla, and a pinch of salt until smooth and fluffy—taste and adjust sweetness as you like.
- Frost the cupcakes:
- Pipe tall swirls or frost generously with a spatula; either way, watch little peaks form as you finish each one.
- Craft the fondant caps:
- Dust your surface with cornstarch and roll black fondant thin, then cut twelve neat squares for the cap tops—a ruler or card helps for sharp edges.
- Assemble cap bases:
- Shape twelve small balls from more black fondant, flatten slightly, and gently attach a black square to each using a dab of edible glue or water.
- Add gold tassels and details:
- Roll gold fondant into fine ropes for tassels; attach to the center of each cap with a tiny gold fondant button, then finish with a shimmer of gold dust if you like.
- Decorate and serve:
- Set a fondant cap atop each frosted cupcake and get ready for applause—or at least a triumphant grin.
 Save
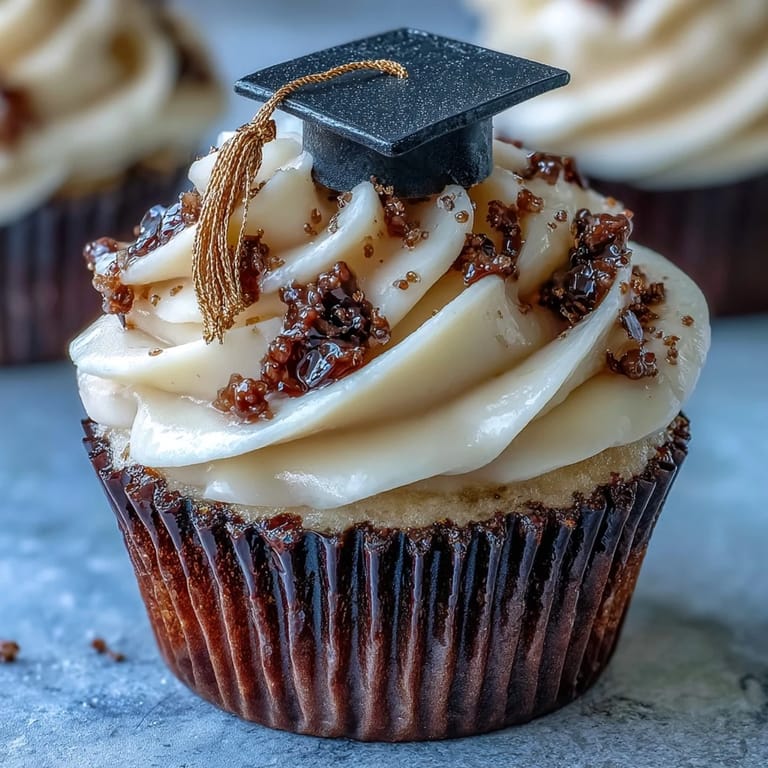
Save When I watched my niece blow out candles on her graduation cupcakes, surrounded by friends in borrowed robes and silly hats, it was really easy to see how food can turn a celebration into a memory. Somehow, the little gold tassels became as photographed as her actual diploma.
Perfecting the Fondant Caps
Getting the fondant caps to hold their shape has tripped me up more than once. I found it helps to cut the squares for the tops first and let them sit out while assembling the rest, so they stiffen slightly. Dusting my hands with cornstarch kept everything from sticking and made rolling tassels much neater. I like to use a sharp knife or even a pizza cutter to get perfectly straight lines. Small touches—like a little gold dust—made each cap look worthy of the big event.
Choosing the Right Frosting Swirl
Some days I reach for a piping bag and go for sky-high swirls, while other times I smooth the buttercream with an offset spatula and dip it in sprinkles. Either method holds the fondant cap well. If you chill the cupcakes for ten minutes, the frosting sets just enough so you can handle them without smudges. Room temperature buttercream also spreads more smoothly and won't tear the cupcakes. Adjust your swirl style to match the mood—or the person you're celebrating. No matter what, a swipe of buttercream is a mood-lifter all on its own.
Make-Ahead and Storage Notes
I've learned these cupcakes can be made a day ahead, and even the fondant caps hold well overnight if kept in an airtight container. Keep cupcakes and decorations separate until just before serving so nothing softens or bleeds color. If you want extra glitz, add gold dust just before you put them out. These freeze pretty well, but best without the fondant—the caps get a bit sticky if thawed. For last minute sparkle, a quick dusting or a piped border of tiny dots makes each cupcake look like it came from a bakery.
- Add fondant caps after the cupcakes are frosted and cooled to avoid melting.
- A sprinkle of gold pearls adds extra luxury in minutes.
- Always double-check fondant ingredients for allergies.
 Save
Save Here's hoping these cupcakes bring big smiles and a sense of celebration to your next milestone—no matter how small. Topped with edible caps, each one is a sweet little tribute to all that's been achieved.
Recipe Guide
- → How do I prevent fondant from sticking when rolling?
Lightly dust your work surface and rolling pin with cornstarch, roll gently and keep the fondant moving. Use just enough dust to prevent sticking without drying the fondant.
- → What's the best way to get a smooth buttercream finish?
Beat the butter until creamy before gradually adding sifted powdered sugar. Add a little milk to reach spreading consistency and finish with high-speed whipping for a silky texture.
- → Can I make the cupcakes ahead of time?
Yes. Bake and cool the cupcakes fully, store unfrosted in an airtight container for up to 24 hours. Frost and top with fondant caps just before serving for best texture.
- → How do I attach fondant caps securely to the frosting?
Use a tiny dab of edible adhesive or water on the fondant base, press gently onto the buttercream. If frosting is very soft, chill briefly to firm up before placing caps.
- → What substitutions work for dietary restrictions?
Swap dairy butter and milk for plant-based alternatives to make these suitable for vegans; use egg replacer if needed. Check fondant labels for allergen traces before use.
- → Any tips for adding shine to the gold accents?
Brush on edible gold dust or a diluted edible gold paint after assembly. Apply lightly to avoid smudging delicate fondant details.