 Save
Save I still remember the afternoon my niece came home with her graduation cap box, and I thought, "What if we could eat our celebration?" That's when I created these little Graduation Cap Snacks—a playful way to turn the milestone into something you can actually enjoy together. The first batch disappeared in minutes, and watching people's faces light up when they realized the tassel was licorice made it all worth it.
I made these for my daughter's study group right before finals, and something magical happened—everyone stopped stressing for a moment just to admire them before eating. One friend even took a photo to send to her mom. That's when I realized these weren't just snacks; they were little edible conversation starters.
Ingredients
- Square crackers (Wheat Thins, water crackers, or similar): These form the foundation of your cap, and their crisp texture provides the perfect contrast to creamy cheese. I've learned that sturdier crackers hold up better to the cheese weight, so don't reach for delicate ones.
- Square slices of cheese (cheddar, Swiss, or American): This is your cap's crown, and alignment matters more than you'd think—it's what makes it actually look like a graduation cap. I prefer Swiss for its slight sweetness, but cheddar brings nostalgia.
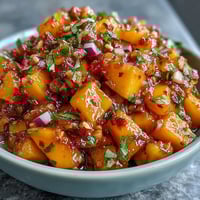
- Long strings of black licorice or dried fruit strips: The tassel is where personality shines. Black licorice gives the classic cap look, but mango or apricot strips feel more elegant. Cut them about 3 inches long and try to keep them consistent—your eye will notice the difference.
- Cream cheese or hummus for adhesive: This is your invisible glue, and a small dab is genuinely all you need. I learned this the hard way by over-applying—less is more.
- Candy pearls or raisins (optional): These become the button at the end of the tassel, that tiny detail that transforms a cute snack into something that actually looks like a graduation cap.
Tired of Takeout? 🥡
Get 10 meals you can make faster than delivery arrives. Seriously.
One email. No spam. Unsubscribe anytime.
Instructions
- Start with your base:
- Place each square cracker on your serving platter like you're setting a tiny stage. These won't move, so arrange them however feels right to you.
- Crown each cracker:
- Top with a cheese slice, and here's the thing—align those edges carefully. Take a breath and make them square and even. This is what makes someone say, "Oh, that's a cap!" instead of just seeing cheese on a cracker.
- Create the tassel magic:
- Take one end of your licorice or fruit strip and dab a tiny bit of cream cheese on it, then press it to one corner of the cheese. Let it drape naturally over the edge like it's been there all along. This is where the whole thing comes to life.
- Add the button (if you want perfection):
- Place your candy pearl or raisin right where the tassel dangles and secure it with another small dab of adhesive. This tiny detail is honestly what separates cute from absolutely delightful.
- Finish and serve:
- Take a step back and look at what you've created. Arrange them on a platter, maybe add some greenery, and bring them out immediately. They're meant to be admired and enjoyed fresh.
 Save
Save My favorite memory with these is watching my mom's book club absolutely light up when I brought them out. One of her friends said it felt wrong to eat them, but she did anyway, and the whole room laughed. That moment taught me that the best recipes are the ones that create memories before anyone even takes a bite.
Variations That Feel Special
Once you've made these once, you'll start imagining possibilities. I've made versions with different cheese flavors—smoked gouda brings depth, while pepper jack adds a gentle kick. The licorice can swap for dried mango for a tropical feel, or fruit leather if you want something more delicate. Each variation tells a different story about who you're celebrating.
Building the Perfect Presentation
These snacks deserve to be presented with intention. I've found that arranging them on a wooden board with fresh herbs tucked around them makes them feel less like party food and more like edible art. Some people like to group them by color variation, others arrange them in cap-throwing pose. The presentation is part of the fun, and honestly, it's one of those moments where taking time is the whole point.
When You Want to Make Them Shine
These work beautifully for so much more than graduations. I've made them for going-away parties, promotion celebrations, and end-of-year office gatherings. They're naturally festive without requiring any pretense, and they spark conversation instantly. The beauty is that you control how fancy they feel—use expensive cheese and artisanal crackers for an upscale event, or keep it simple and let the idea shine through.
- Make a few extra because people always want seconds, and it's better to have them than to run out.
- Prep your ingredients beforehand so assembly is just a smooth, confident motion—no scrambling.
- Trust your instincts on adhesive placement; if it feels like enough, it probably is.
 Save
Save These little snacks remind me that celebration food doesn't need to be complicated to be meaningful. They're simple enough that anyone can make them, yet special enough that people remember them long after the party ends.
Recipe Guide
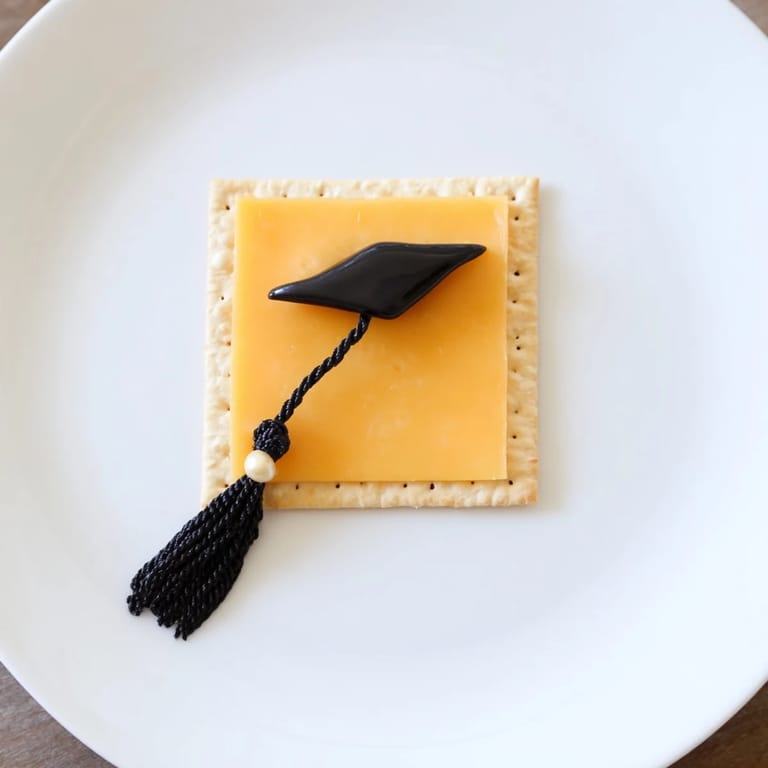
- → What ingredients create the cap shape?
Square crackers provide a base topped with matching cheese slices to mimic the flat graduation cap look.
- → How is the tassel made?
Thin strips of black licorice or dried fruit serve as tassels, attached at the corner with cream cheese or hummus.
- → Can I customize flavors?
Yes, try different cheese varieties or use gluten-free crackers to suit dietary needs and preferences.
- → What is the purpose of the small candy pearls or raisins?
They mimic the cap's button detail and are optional for added texture and visual appeal.
- → How long does preparation take?
Assembly is quick, usually completed within 10 minutes with no cooking required.